Secure Privacy's DSAR form custom controls give you the flexibility to tailor your data subject access request form so end users only see and complete the fields relevant to their specific request. Customizing the form and response templates aligns the DSAR process with your organization's workflows and branding — creating a cleaner, more professional experience that builds trust and streamlines data collection.
This article explains how to add and configure custom controls in the Secure Privacy DSAR form editor.
Who Is This For?
Privacy and compliance teams customizing DSAR forms to match organizational workflows
Website administrators configuring the data request form within Secure Privacy templates
Data Protection Officers ensuring DSAR forms collect the right information for each request type
How to Add Custom Controls to Your DSAR Form
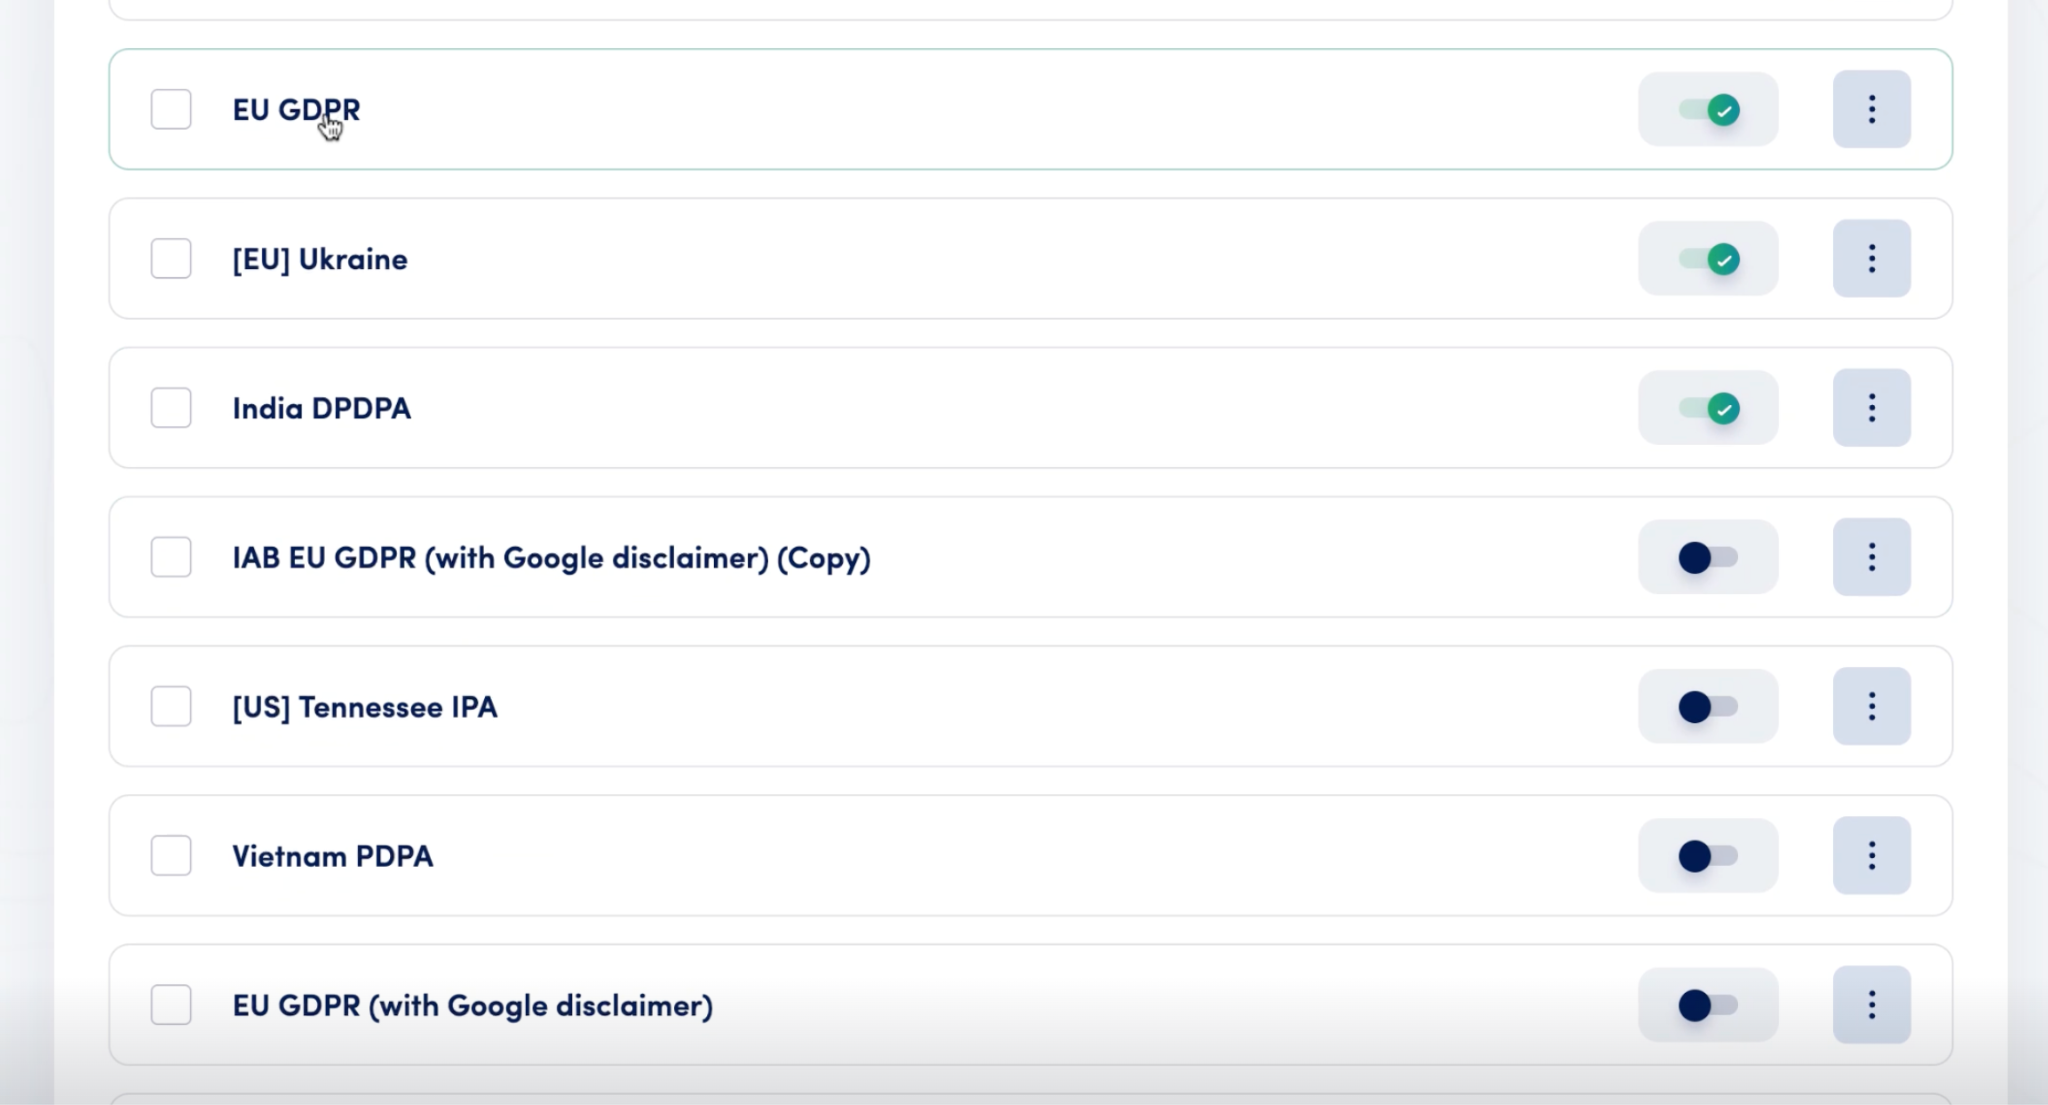
Navigate to the Templates tab. After logging in to your Secure Privacy dashboard, click Templates in the top navigation bar. This tab lists all available privacy templates for different regions.
Select the desired template. Scroll through the template list to find the one you need. Click into its settings to open the configuration options in the side panel.
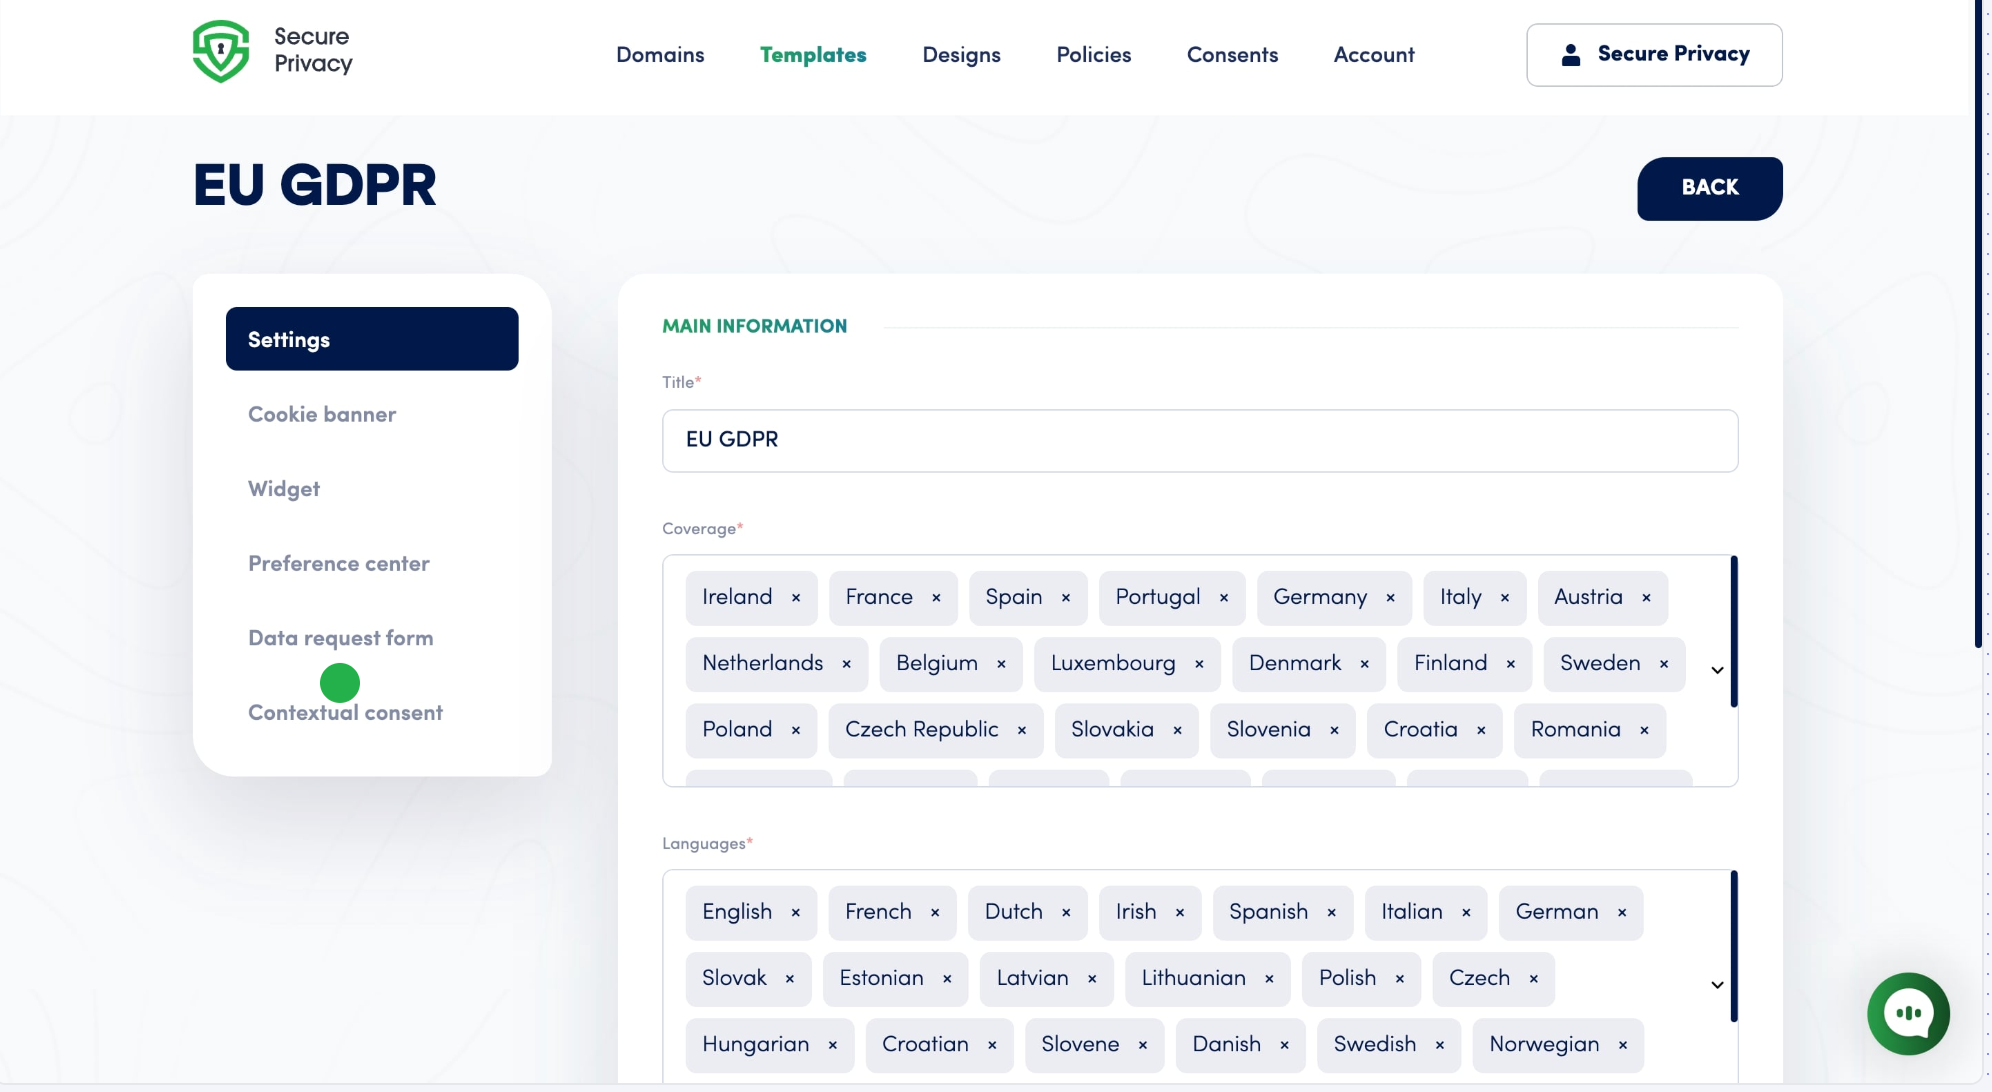
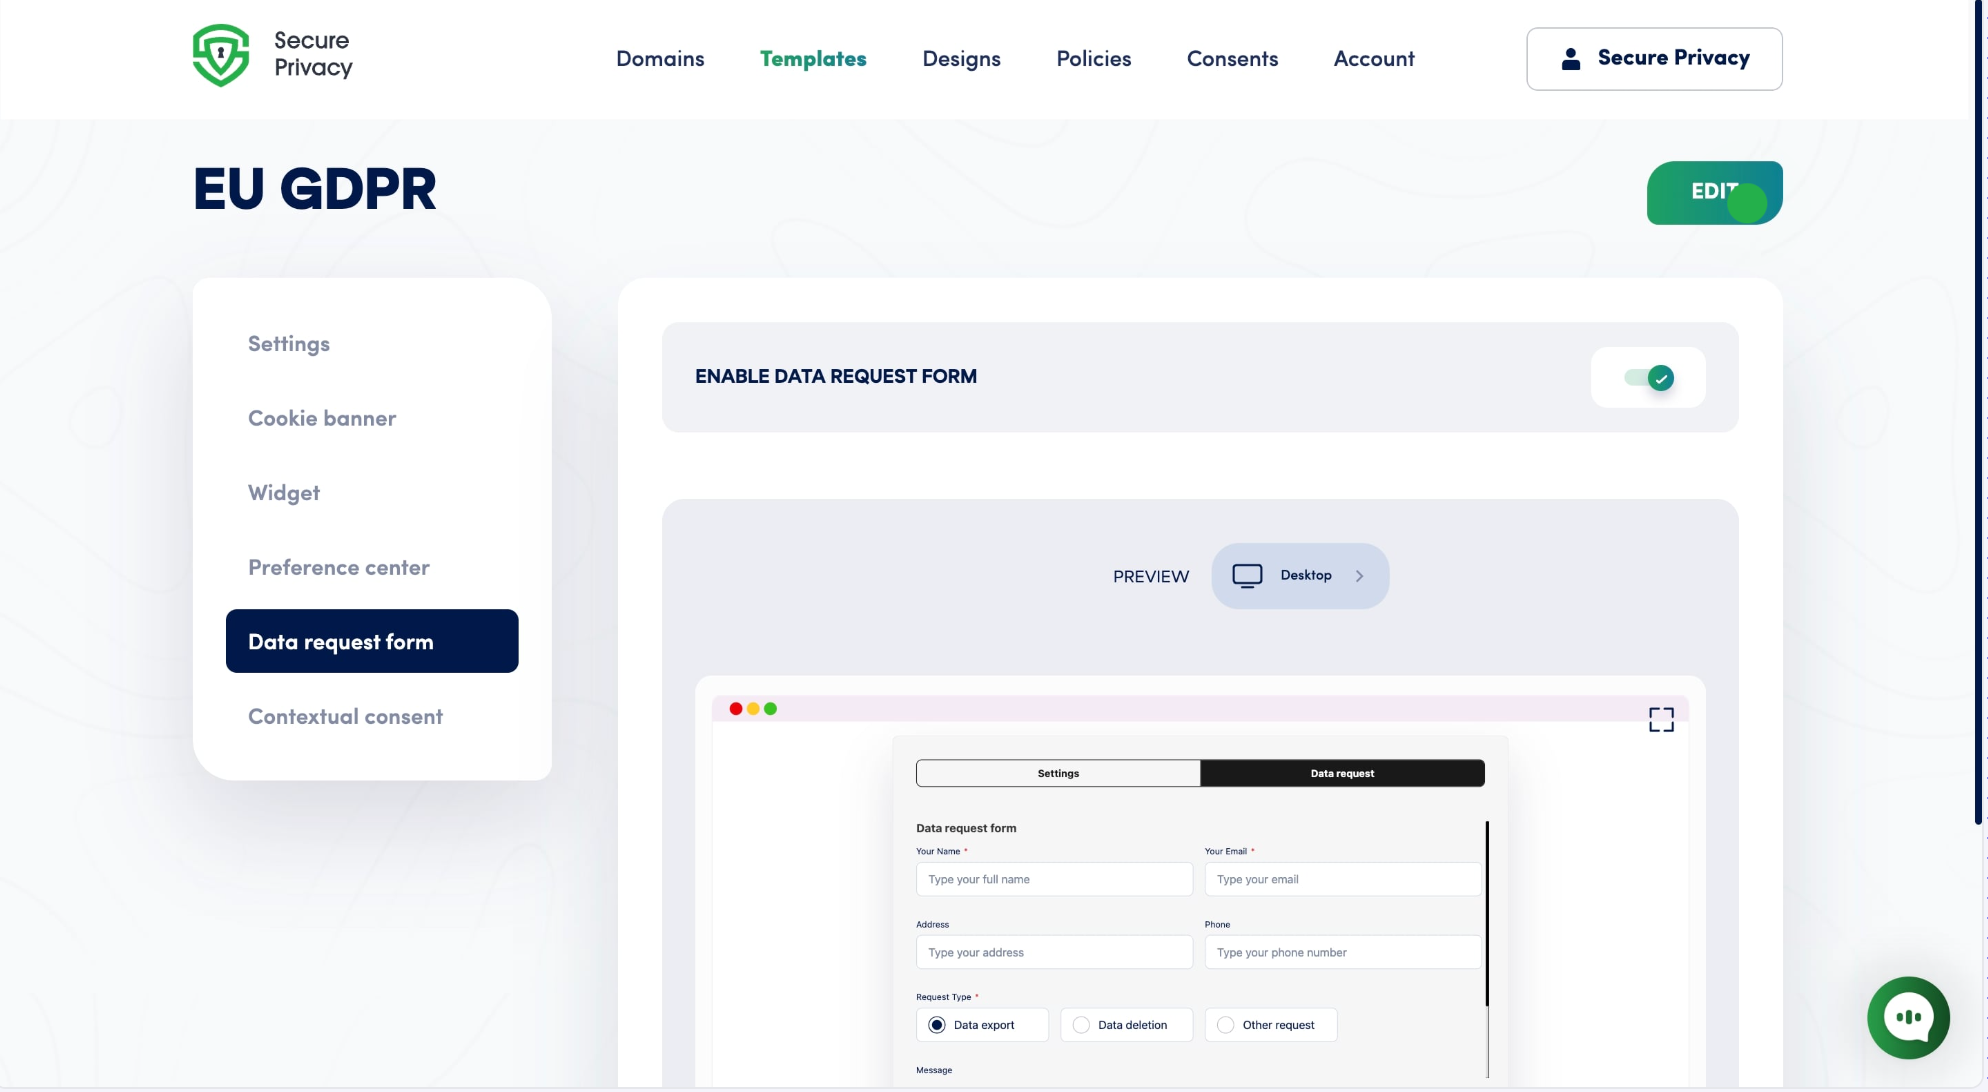
Go to the Data Request Form section. Inside the template, locate the left-side panel and click Data request form. This section controls the user-facing form visitors will use to submit requests to access or erase their data.
Enter Edit Mode. Click Edit in the top-right corner of the form preview. The form editor opens, allowing you to modify existing fields and add new ones. Confirm the Enable data request form toggle is turned on (green), then navigate to the Text tab.
Add a custom control. Within the Text tab, scroll down and click + Add control, then select the control type you need. The control is inserted into the form where you can configure it to meet your specific requirements.
Organize form fields. Drag and drop fields to rearrange them in the required order. To remove a control, hover over it and click the trash icon.
Save your changes. When you are satisfied with the form, click Save in the top-right corner of the editor. Secure Privacy applies your changes and updates the live data request form on your site immediately.
Example: Adding a Custom "Right to Erase" Field
To illustrate how custom controls work, here is how to add a "Right to Erase" field that collects a visitor's email address:
Click + Add control in the Text tab and select a text input control.
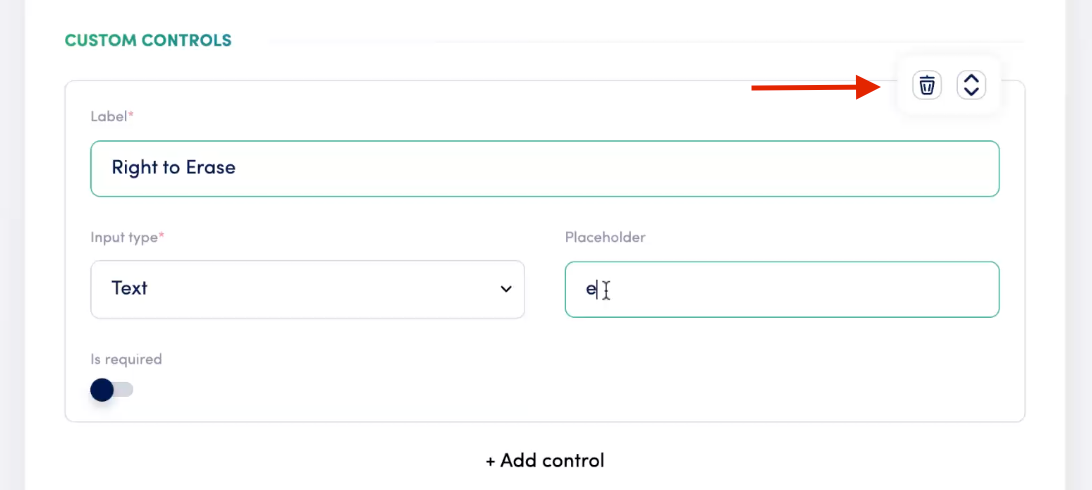
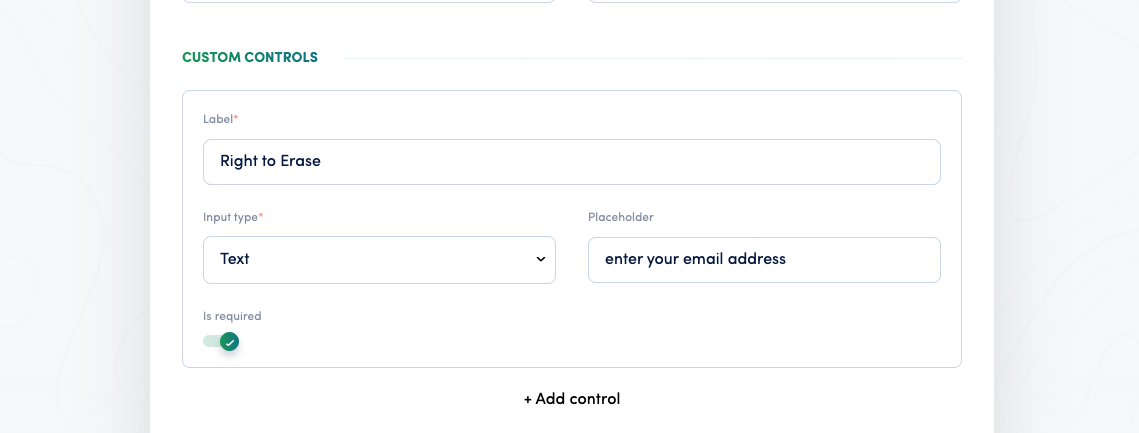
In the settings panel, set Label to "Right to Erase".
Set Input type to Text.
Enter "Enter your email address" as the placeholder text.
Enable Is required if this field must be completed before the form can be submitted.
This is how the configuration looks in the editor:
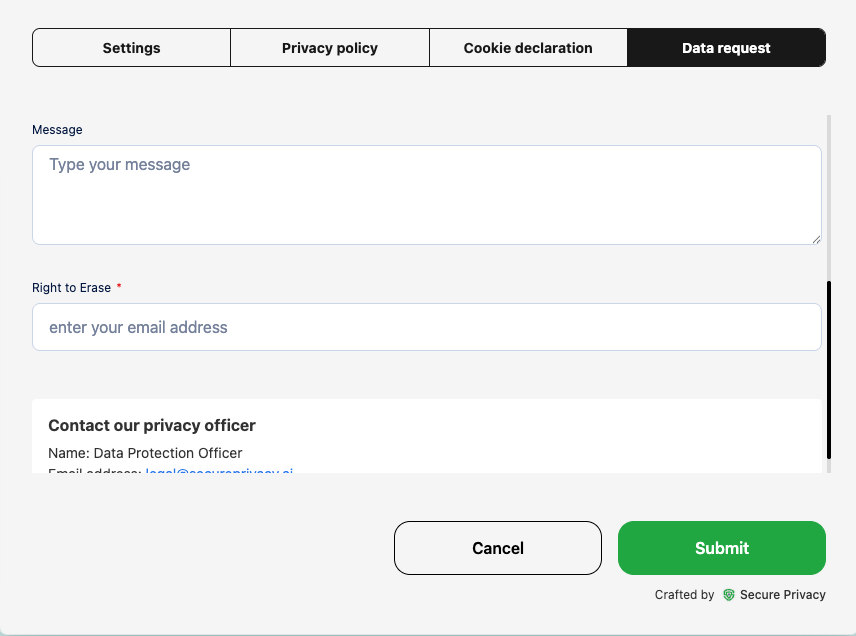
After saving, the new field appears in the DSAR form that visitors see on your website:
Use this method to add any additional fields your organization requires — adjust the label, input type, and placeholder to suit each specific request type.
Frequently Asked Questions
Can I add custom controls to DSAR forms for multiple regions?
Yes. Custom controls can be added to any template available in your Secure Privacy account — including region-specific templates. Navigate to each template separately and configure the Data Request Form controls to match the requirements for that region's applicable privacy regulations.
Can I make a custom field mandatory?
Yes. When configuring a custom control, enable the Is required toggle in the settings panel. This prevents visitors from submitting the form without completing that field — useful for fields that are essential for processing the specific request type.
Will changes to the DSAR form take effect immediately on my website?
Yes. Once you click Save in the form editor, Secure Privacy applies your changes and the updated form is immediately live on your site — no additional deployment steps are required.